Ads
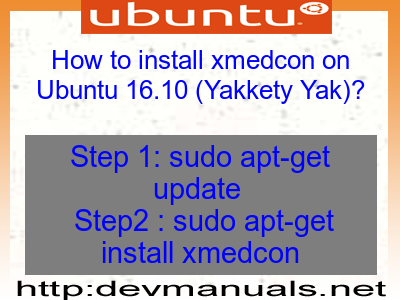
Quick installation of xmedcon:
Step 1: Update system:
sudo apt-get update
Step 2: Install: xmedcon
Ater updaing the OS run following command to install the packae:
sudo apt-get install xmedcon
Package Details | |
| Package: | xmedcon |
| Version: | 0.14.1-1build1 |
| Maintainer: | Ubuntu Developers |
| Home page: | http://xmedcon.sourceforge.net/ |
| Description: | Medical Image (DICOM, ECAT, ...) conversion tool (GUI) This project stands for Medical Image Conversion. Released under the (L)GPL, it comes with the full C-source code of the library, a flexible command line utility and a neat graphical front-end using the GTK+ toolkit. The currently supported formats are: Acr/Nema 2.0, Analyze (SPM), DICOM 3.0, InterFile 3.3 and PNG. . The program also allows one to read unsupported files without compression, to print pixel values or to extract/reorder specified images. It is possible to retrieve the raw binary/ascii image arrays or to write PNG for desktop applications. . This is the program version for X based on GTK+. Processes only one file at a time. |
| Distro: | Ubuntu 16.10 |
| Release: | |
| Repo/Section: | universe/graphics |
How to install xmedcon on Ubuntu 16.10?
First of all update your system with the command:
sudo apt-get update
Ads
Above command will download the package lists for Ubuntu 16.10 on your system. This will update the list of newest versions of packages and its dependencies on your system.
After downloading the latest package list with the help of above you can run the installation process.
If xmedcon is not installed on your compter then the command 'dpkg -L xmedcon' will give followin error.
deepak@deepak-VirtualBox:~$ dpkg -L xmedcon
dpkg-query: package 'xmedcon' is not installed
Use dpkg --info (= dpkg-deb --info) to examine archive files,
and dpkg --contents (= dpkg-deb --contents) to list their contents.
deepak@deepak-VirtualBox:~$
Installing xmedcon:
After system update use the following command to install xmedcon:
sudo apt-get install xmedcon
Above command will confirm before installing the package on your Ubuntu 16.10 Operating System. If you are not already logged in as su, installer will ask you the root password. After completion of the installation you can use the package on your system.
How to uninstall/remove xmedcon from Ubuntu 16.10?
Now we will see the commands for uninstalling the xmedcon from Ubuntu 16.10. For uninstalling this package you can easily use the apt command and remove the package from Linux Operating System.
To remove the xmedcon following command is used:
sudo apt-get remove xmedcon
Following command is used to remove the xmedcon package along with its dependencies:
sudo apt-get remove --auto-remove xmedcon
This will remove xmedcon and all its dependent packages which is no longer needed in the system.
Completely removing xmedcon with all configuration files:
Following command should be used with care as it deletes all the configuration files and data:
sudo apt-get purge xmedcon
or you can use following command also:
sudo apt-get purge --auto-remove xmedcon
Above command will remove all the configuration files and data associated with xmedcon package. You can can't recover the delete data, so, use this command with care.